how to draw 3d lemons
This curt step by step tutorial explains how to draw and shade a realistic looking lemon from the side view with a focus on information technology's texture.
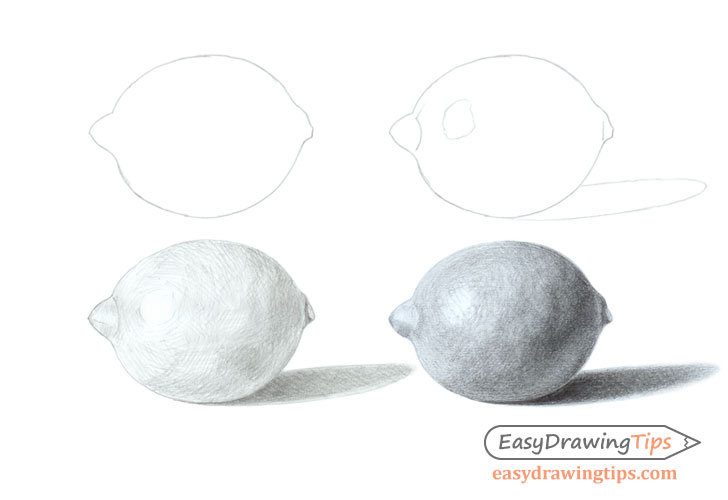
A lemon is a fairly uncomplicated shape to depict and so the focus of this tutorial is mainly on how to shade it in order to give an advent of a rough slightly uneven surface.
Exist sure to make light lines for the initial stages of the drawing so that you tin can easily erase them if you make a fault.
Also please annotation that while the examples in this tutorial are done using pencil some of the tips tin can however be applied to drawing in other medium.
Pace ane – Describe the Outline of the Lemon
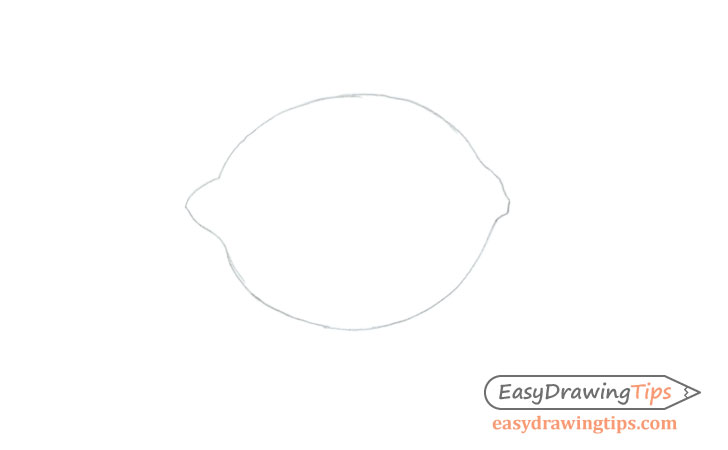
First the lemon cartoon with a uncomplicated outline of it's shape. Obviously different lemons can vary in shape slightly only generally information technology will be an oval with two bumps on each side.
Footstep 2 – Finish the Line Drawing
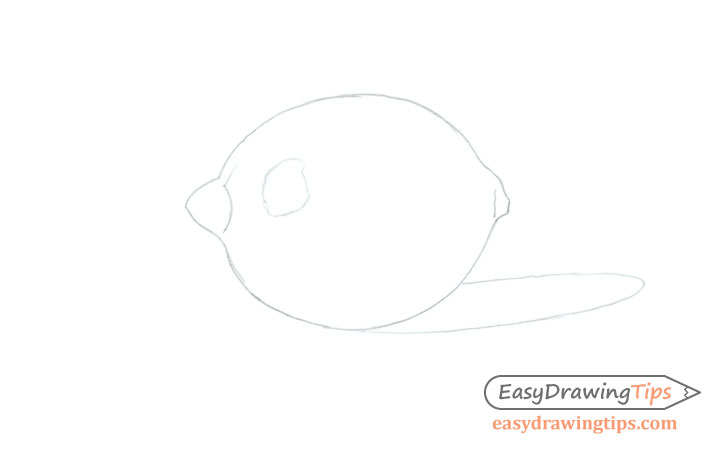
Add together some more lines to better define the shape of the lemon. Yous tin can draw a light outline of the highlight and shadow to help with the shading.
In this case the light is coming from the acme left so the shadow volition be on the right side.
Step 3 – Starting time Applying Shading
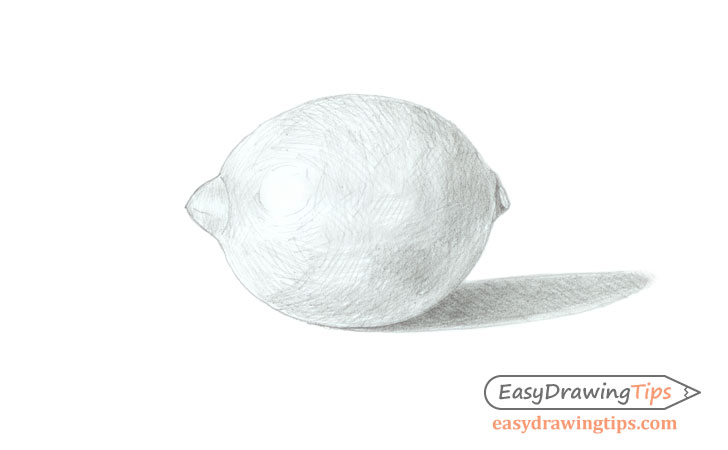
Equally already mentioned lemons have a slightly uneven surfaces with very light bumps and indents and a adequately grainy texture. Beingness able to show this effectively with shading is what will brand the drawing look like a realistic lemon.
Start the shading by making fairly brusque direct strokes that curve around the shape of the lemon. You can make the initial strokes fairly far apart and continue to utilize more than sets of strokes over summit them. Shorter strokes will assist requite it that sort of "spotty" surface look.
For different stroke types see:
Shading Techniques and Stroke Types Drawing Tutorial
As the lite is coming from the height left of the drawing that expanse of the lemon will be lighter transitioning into a darker expanse on the right side. The bottom right of the lemon volition likewise exist lighter as it is illuminated by the light reflecting from the surface the lemon is on. Keep in listen that this area should still exist significantly darker than the one lit upward by the primary light source.
For a more than detailed caption of reflected light see:
- How to Shade Basic 3D Shapes Tutorial
- Egg Step by Step Basic Shading Tutorial
While the lemon itself will be shaded very similar to a sphere or an oval endeavor and go on some lighter spots on the darker side and some darker areas on the calorie-free side. This volition over again aid create that "uneven" surface effect.
Shade the shadow cast by the lemon darker towards the lemon and calorie-free as it gets further abroad.
Stride four – Finish Shading
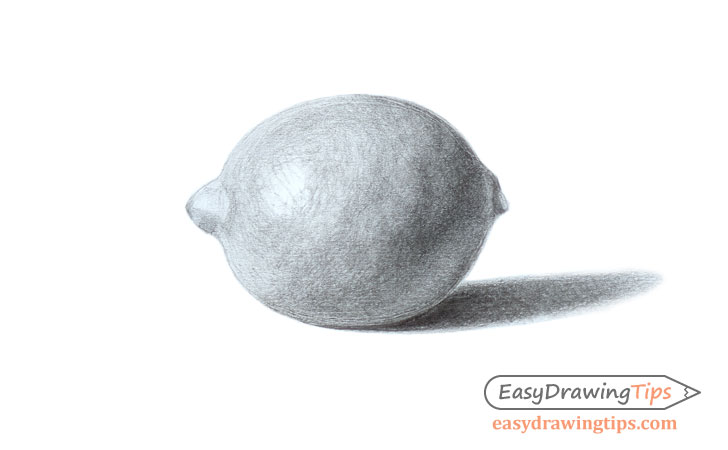
As you apply more strokes the surface of the lemon will appear slightly smoother but leave some overlapping strokes on the lighter side. Don't overly blend your drawing as some visible strokes are what will give the lemon that sort of "grainy texture".
Different the lemon you can make the shadow adequately smooth and blended so there are nigh no visible strokes.
Leave the highlight area pretty much white (with a polish transition into the darker surrounding expanse) but do go into it with simply a few strokes to once more help give the lemon a crude looking surface.
In one case you lot are washed with the shading you should take a finished drawing of the lemon.
Conclusion
This tutorial can particularly exist helpful if you are looking practice cartoon unlike types of textures. Though the outer shape of the lemon itself is very simple showing the slightly uneven surface and rough texture can be more than of a challenge.
For more than similar tutorials see:
- How to Depict a Realistic Pear Tutorial
- How to Draw a Mango Pace past Step
- How to Draw an Eggplant Step by Step
- How to Describe Basics Footstep past Step
Source: https://www.easydrawingtips.com/how-to-draw-a-realistic-lemon-step-by-step/
Belum ada Komentar untuk "how to draw 3d lemons"
Posting Komentar